Magnetic Encoder Servo Firmware Flashing Tutorial
Note
Taking HX-30HM as an example here,
Magnetic Encoder Servo PC Software Installation Package path: Appendix/ServoStudio_0.1.1_x64-setup.exe
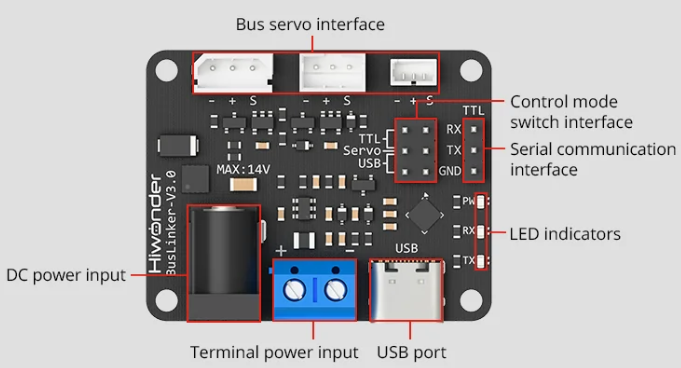
The wiring diagram for the servo control board is shown below. Power the board with a 12V power supply and connect the servo control board to the computer using a Type-C cable. Connect the magnetic encoder servo to the board.
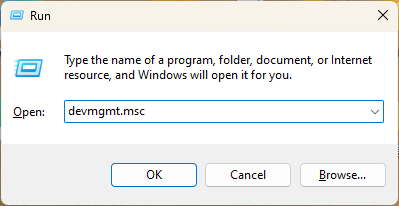
Press Win+R to open the Control Panel, type devmgmt.msc, and open Device Manager.
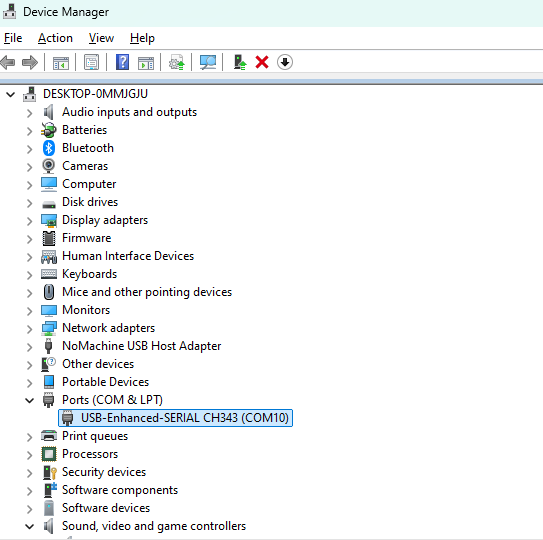
Click Ports to view the port number; here, the port number is COM10.
Double-click to open the software  .
.
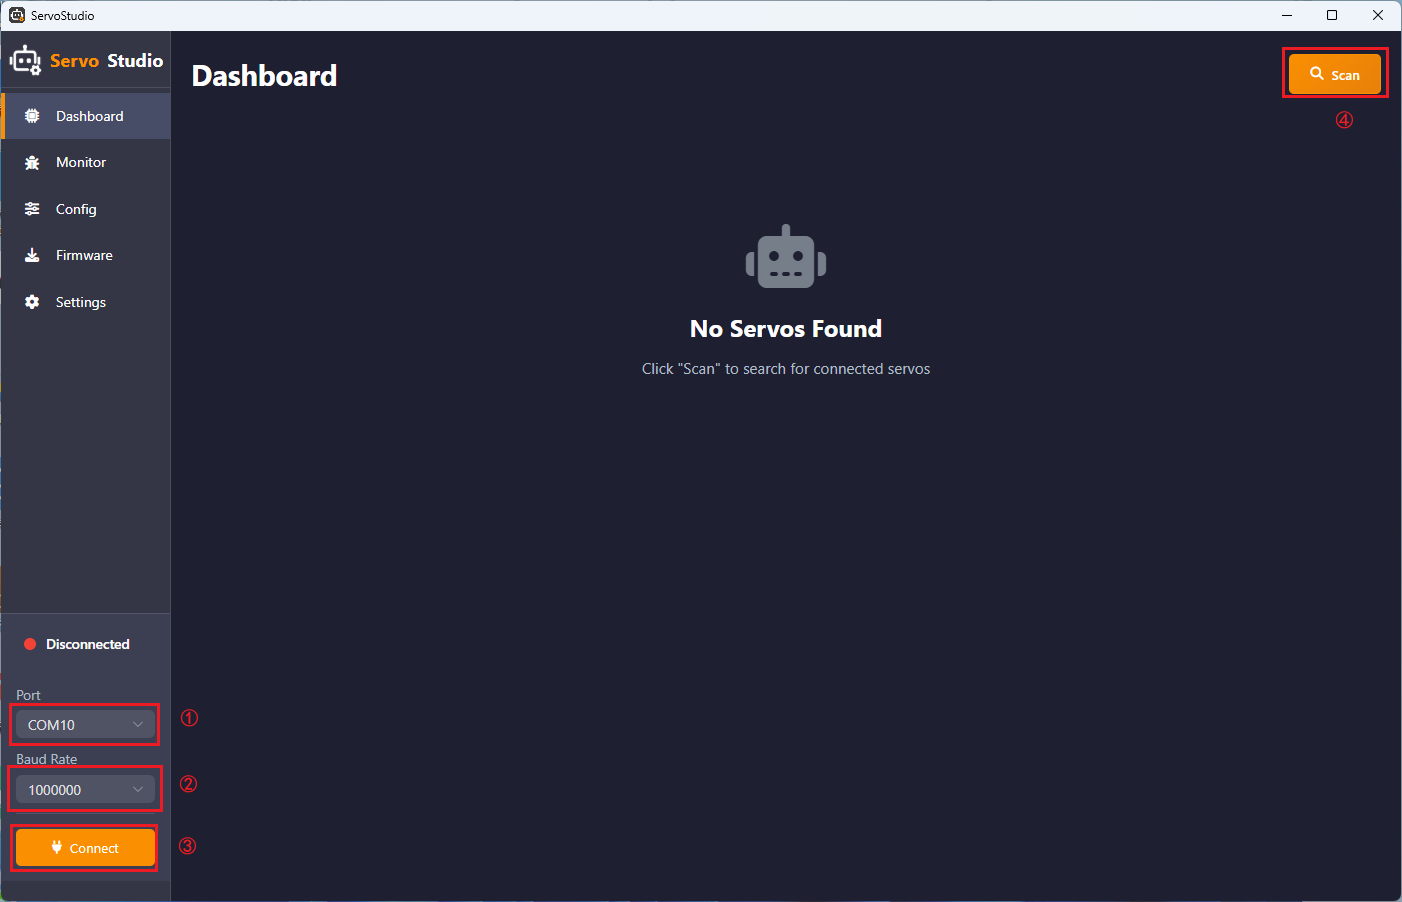
Follow the steps:
Change the Port number to the one found (in this case, change to COM10)
-> Set the baud rate for HX-30HM to 1000000
Note
The baud rate may vary for different magnetic encoder servos. Refer to the corresponding model’s user manual for specifics.
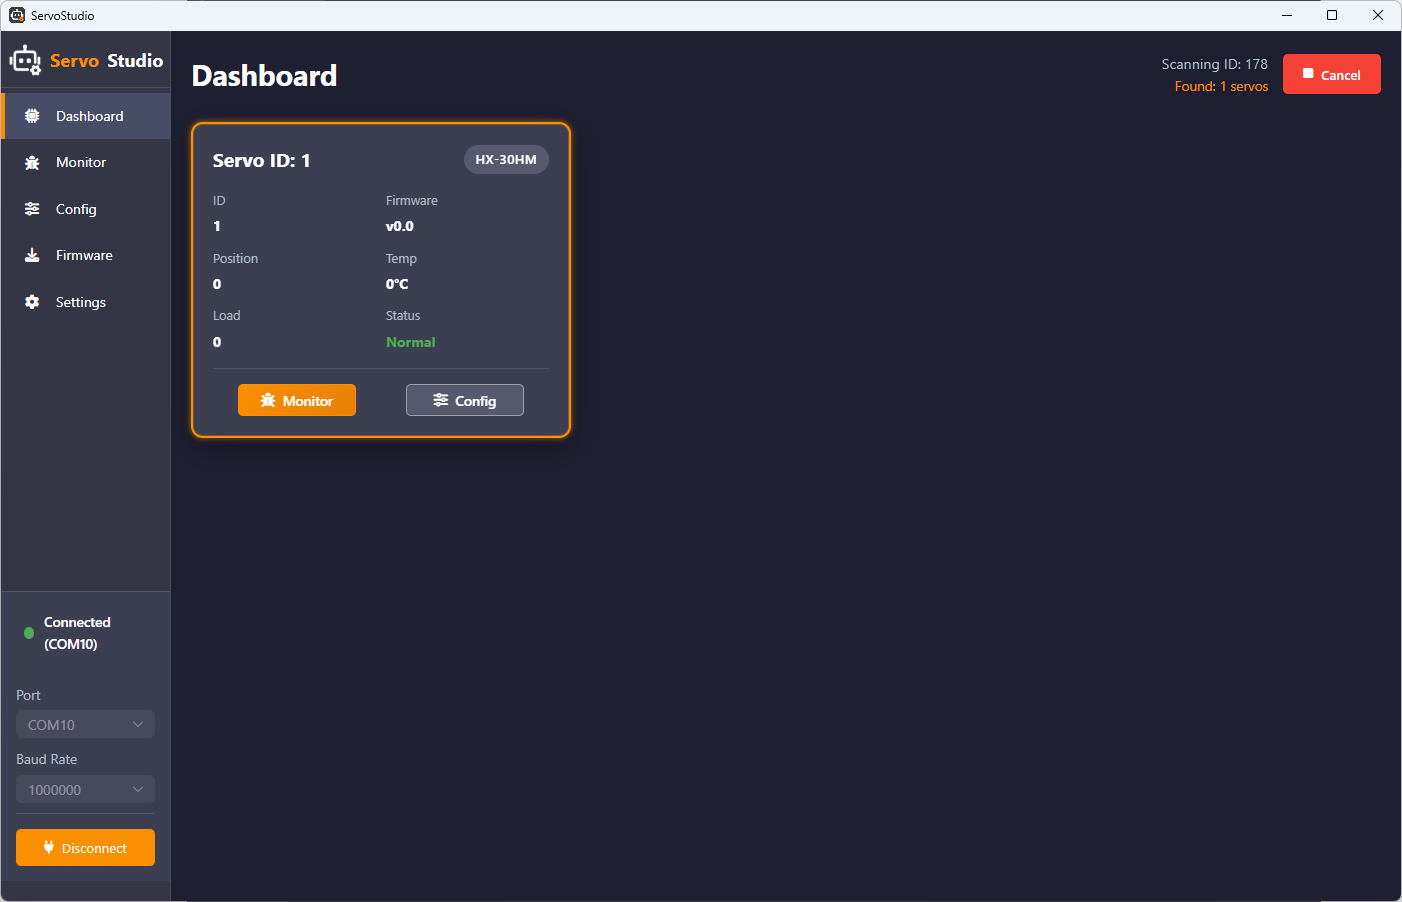
-> Click Connect -> Click Scan
The system will scan all servo ID. If a servo is detected, a servo control interface will appear, as shown in the image below.
Note
If no servo is detected, unplug and re-plug the servo for testing.
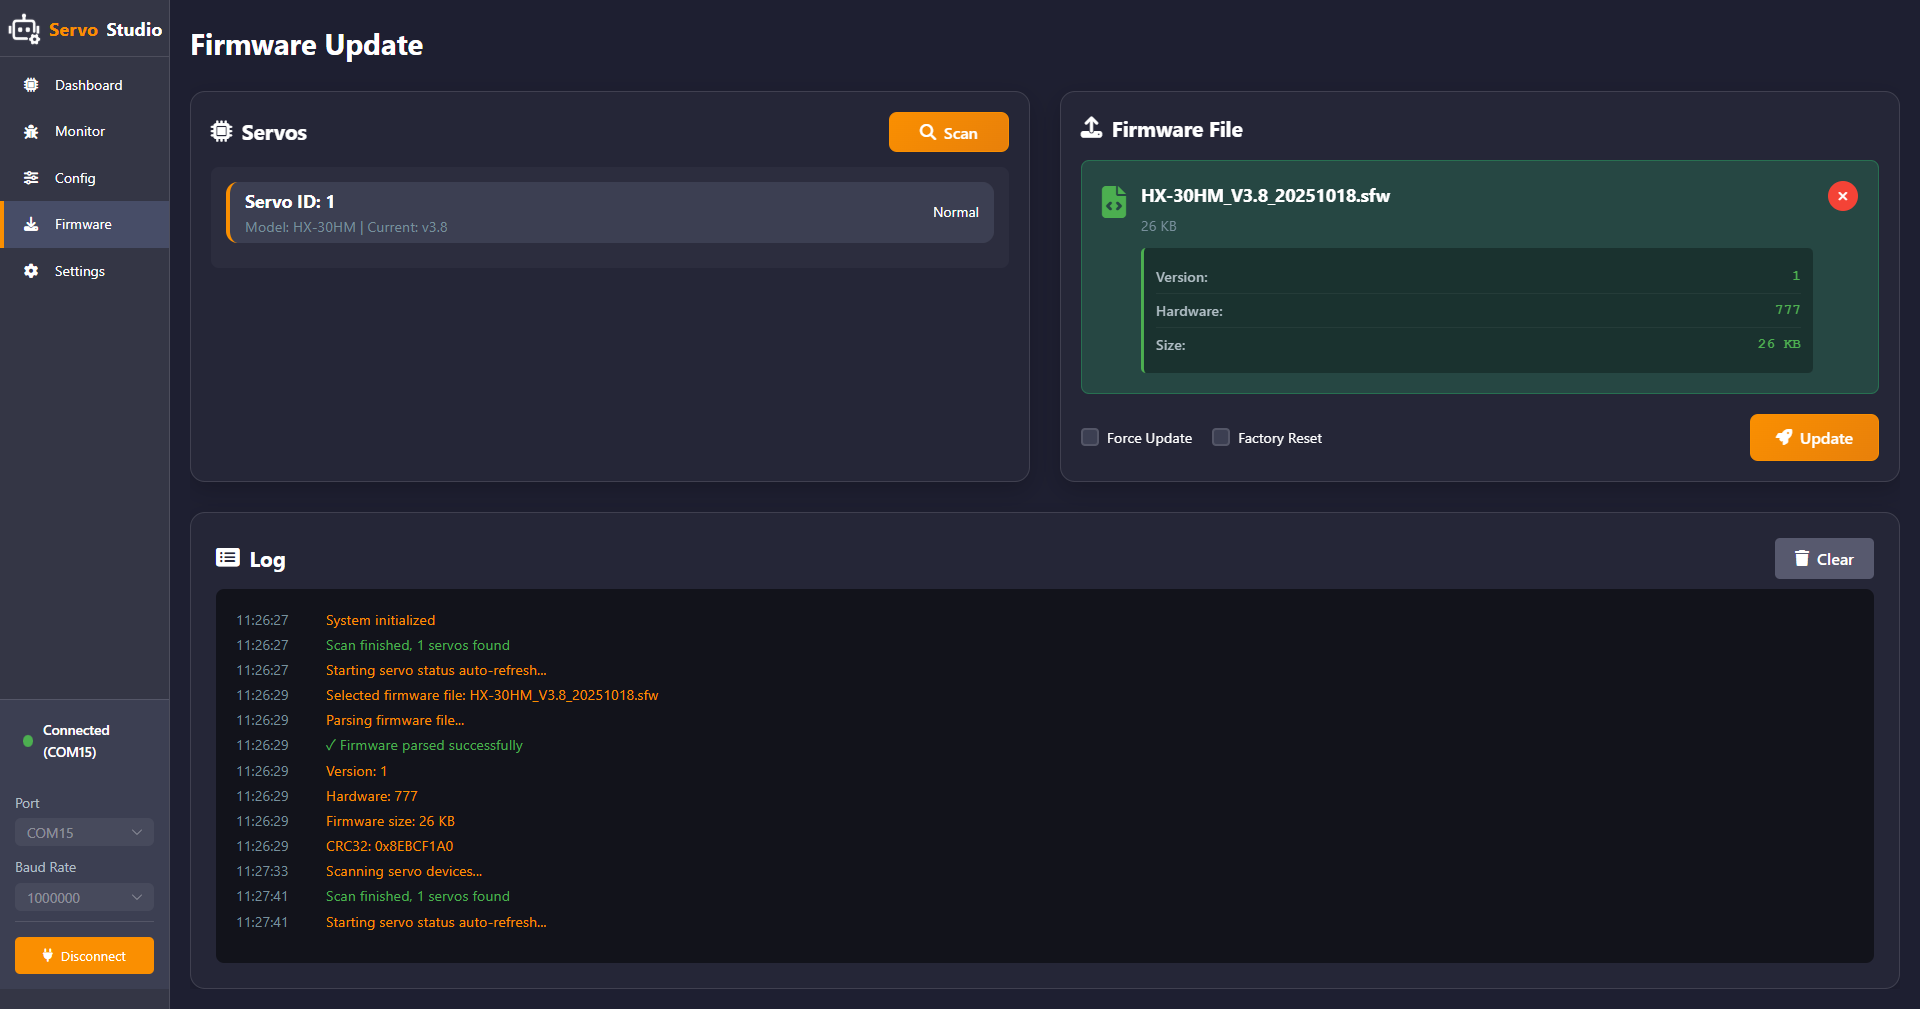
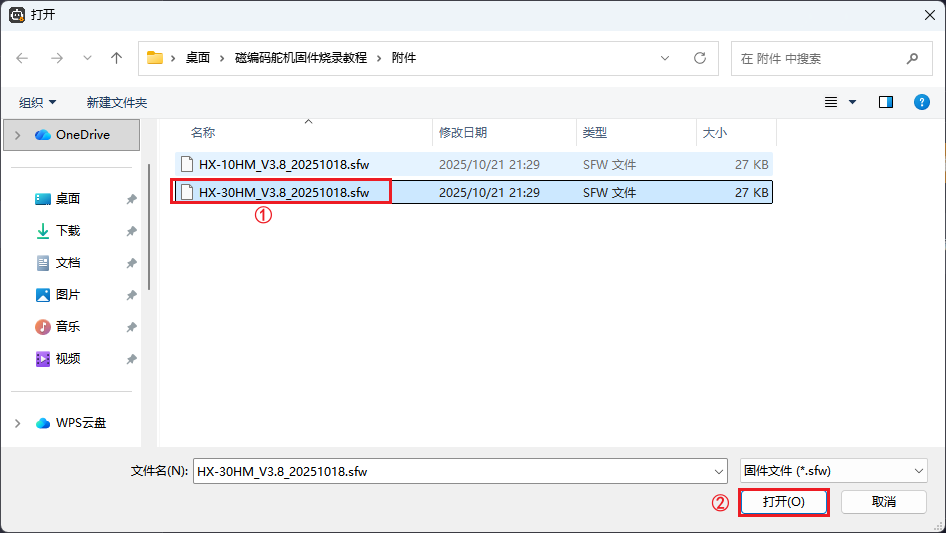
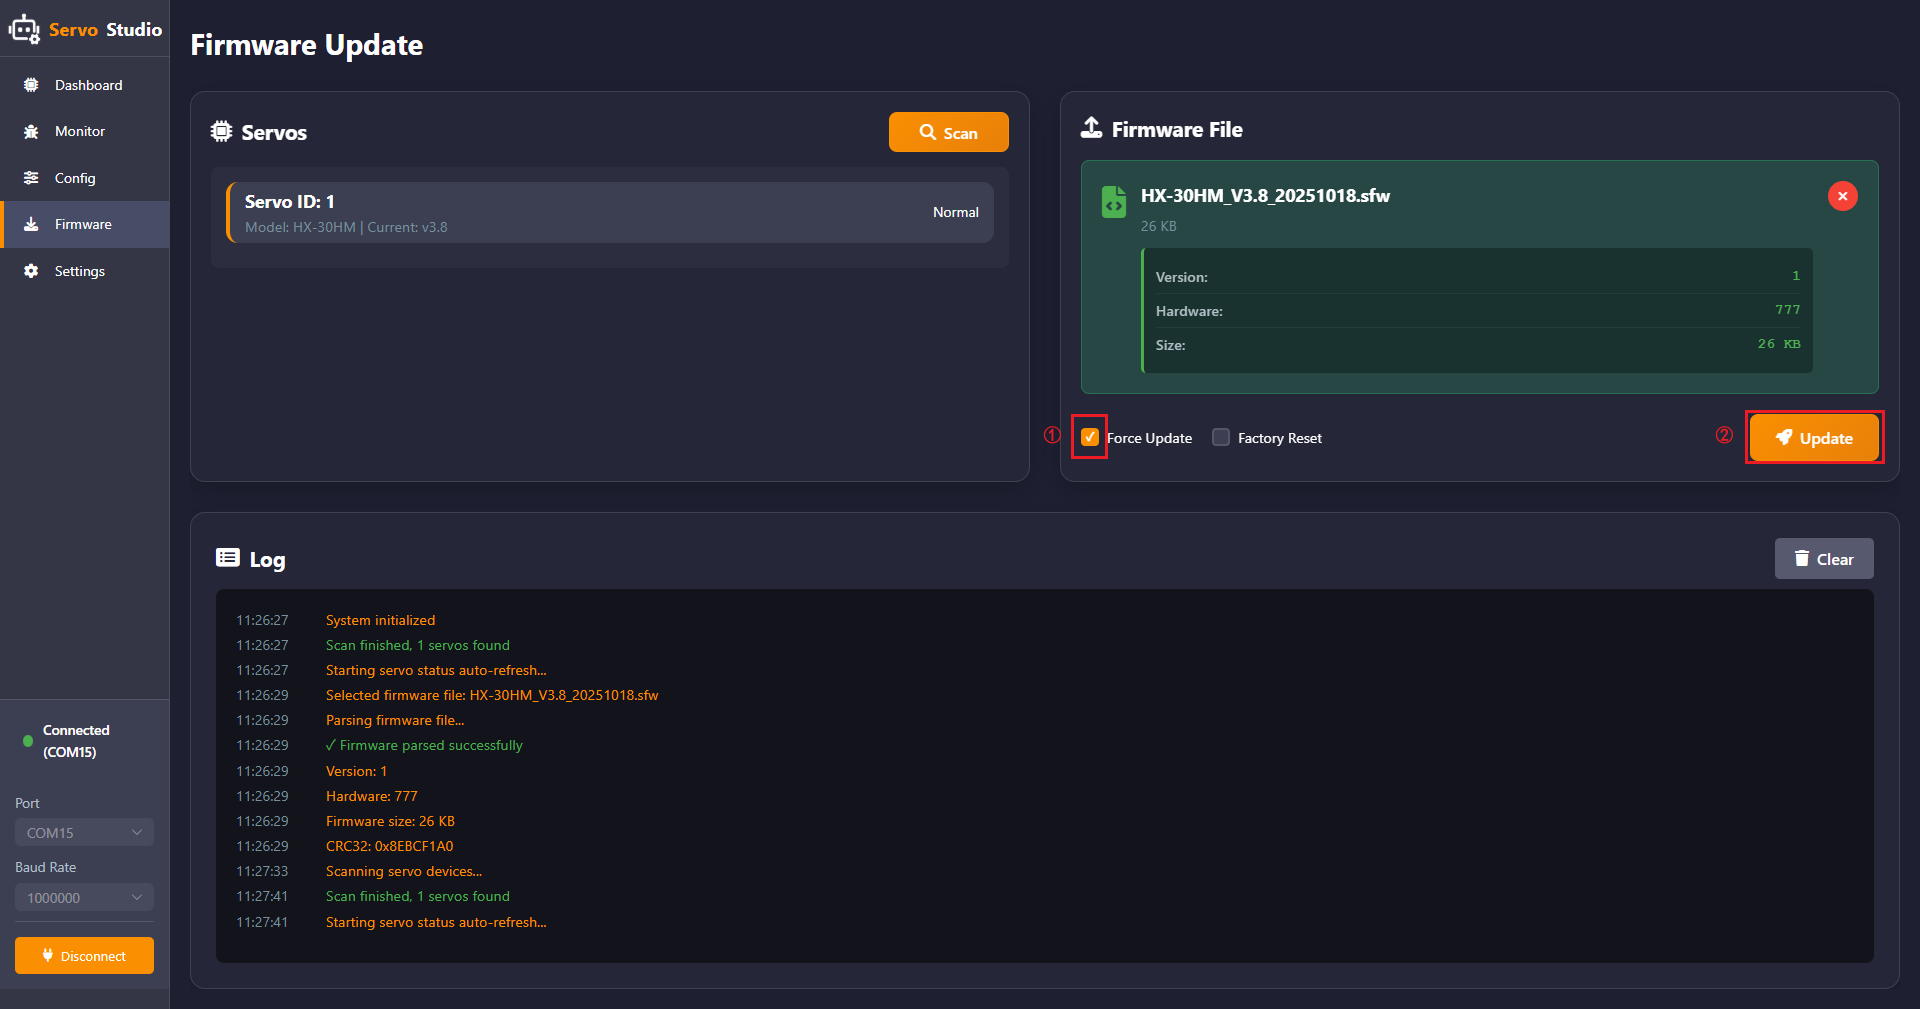
Click Firmware -> Click Click or drag firmware file here..
Click the HX-30HM_V3.9_20251023.sfw firmware package -> Click Open.
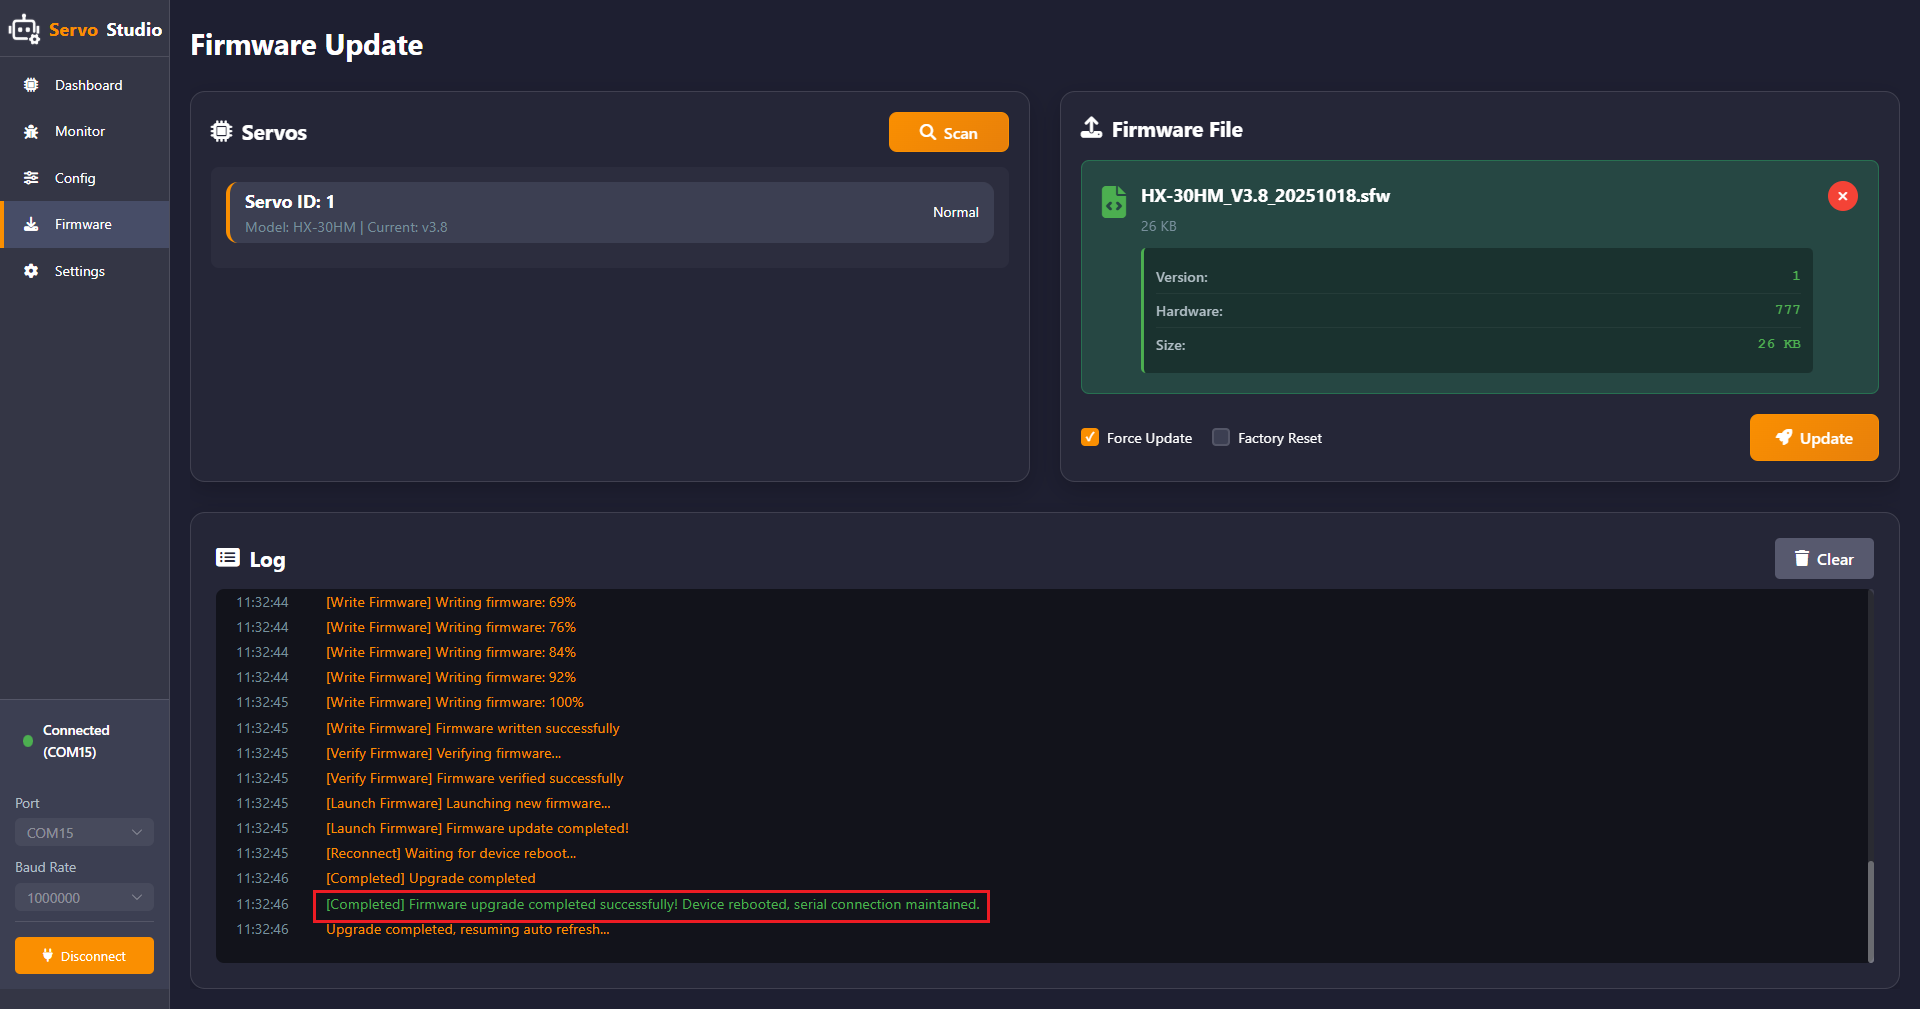
Click Force Upgrade -> Click Upgrade.
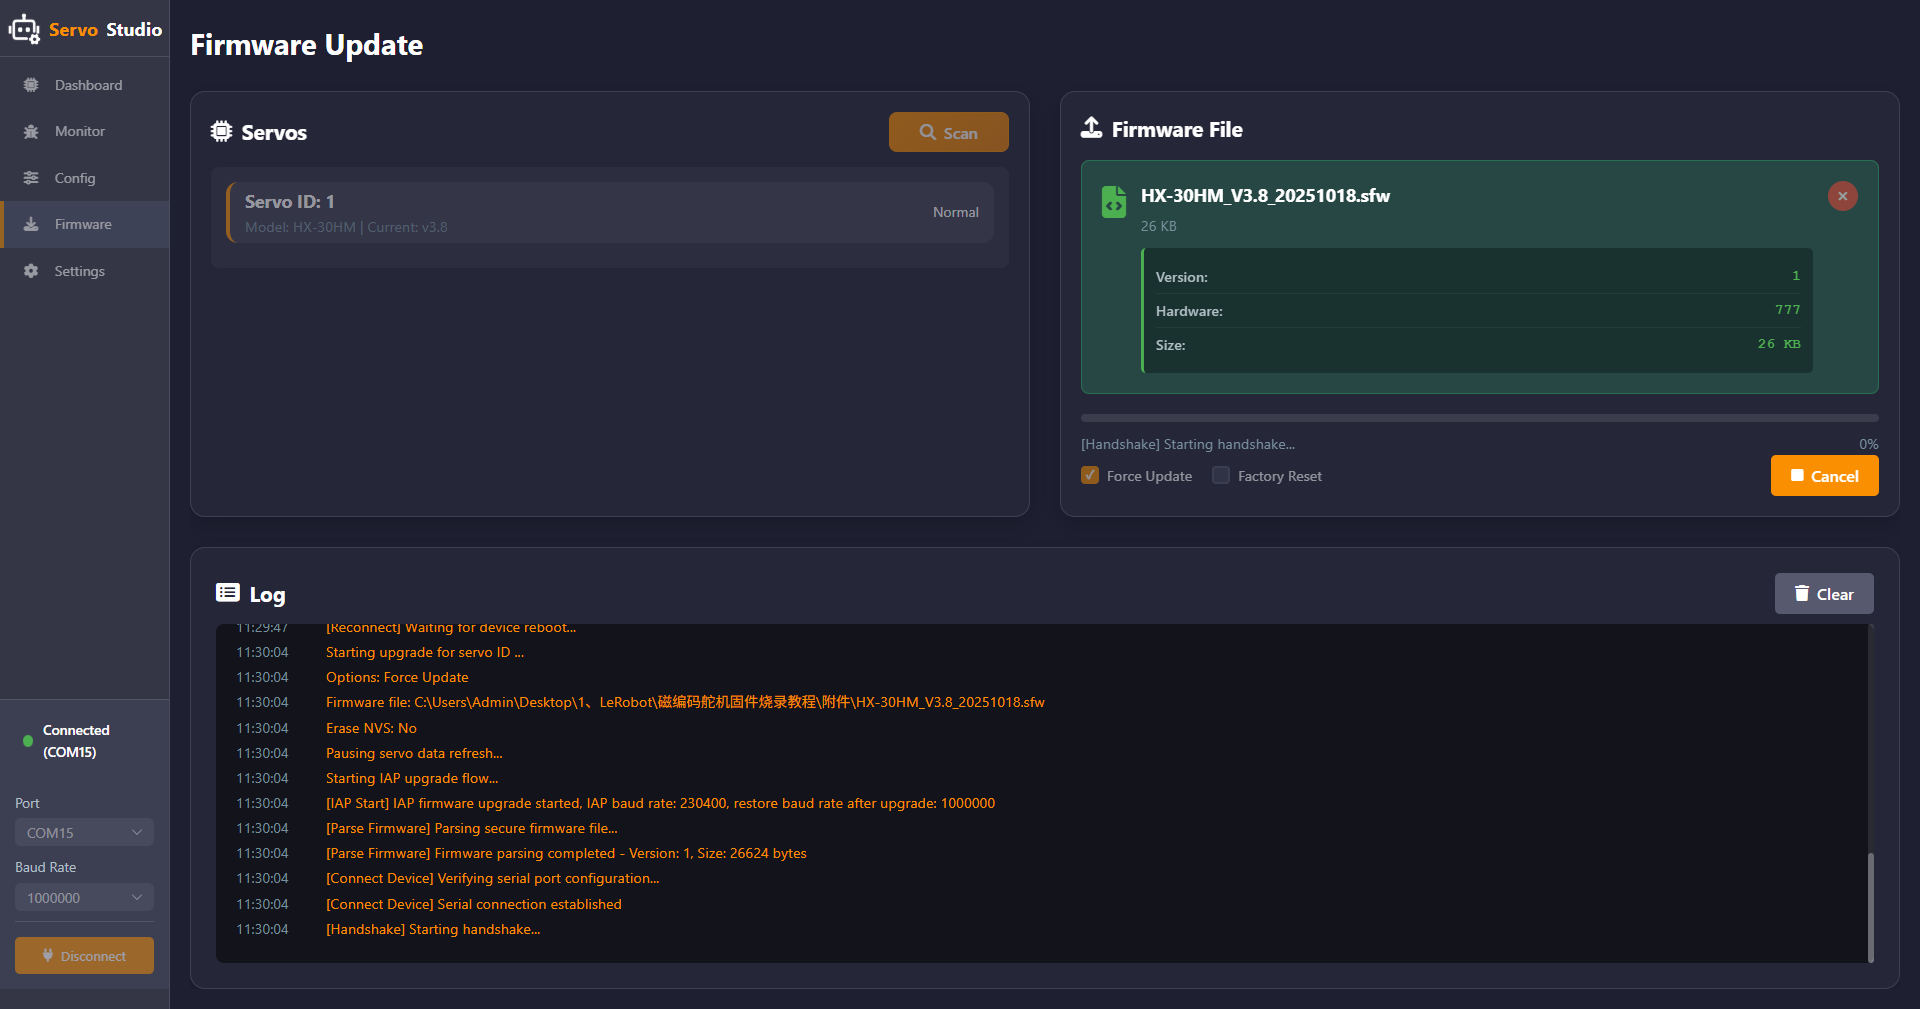
When the following screen appears, it indicates that the flashing process has started. At this point, unplug and re-plug the servo wire.
When the red box appears, it indicates the servo firmware has been successfully flashed.
Note
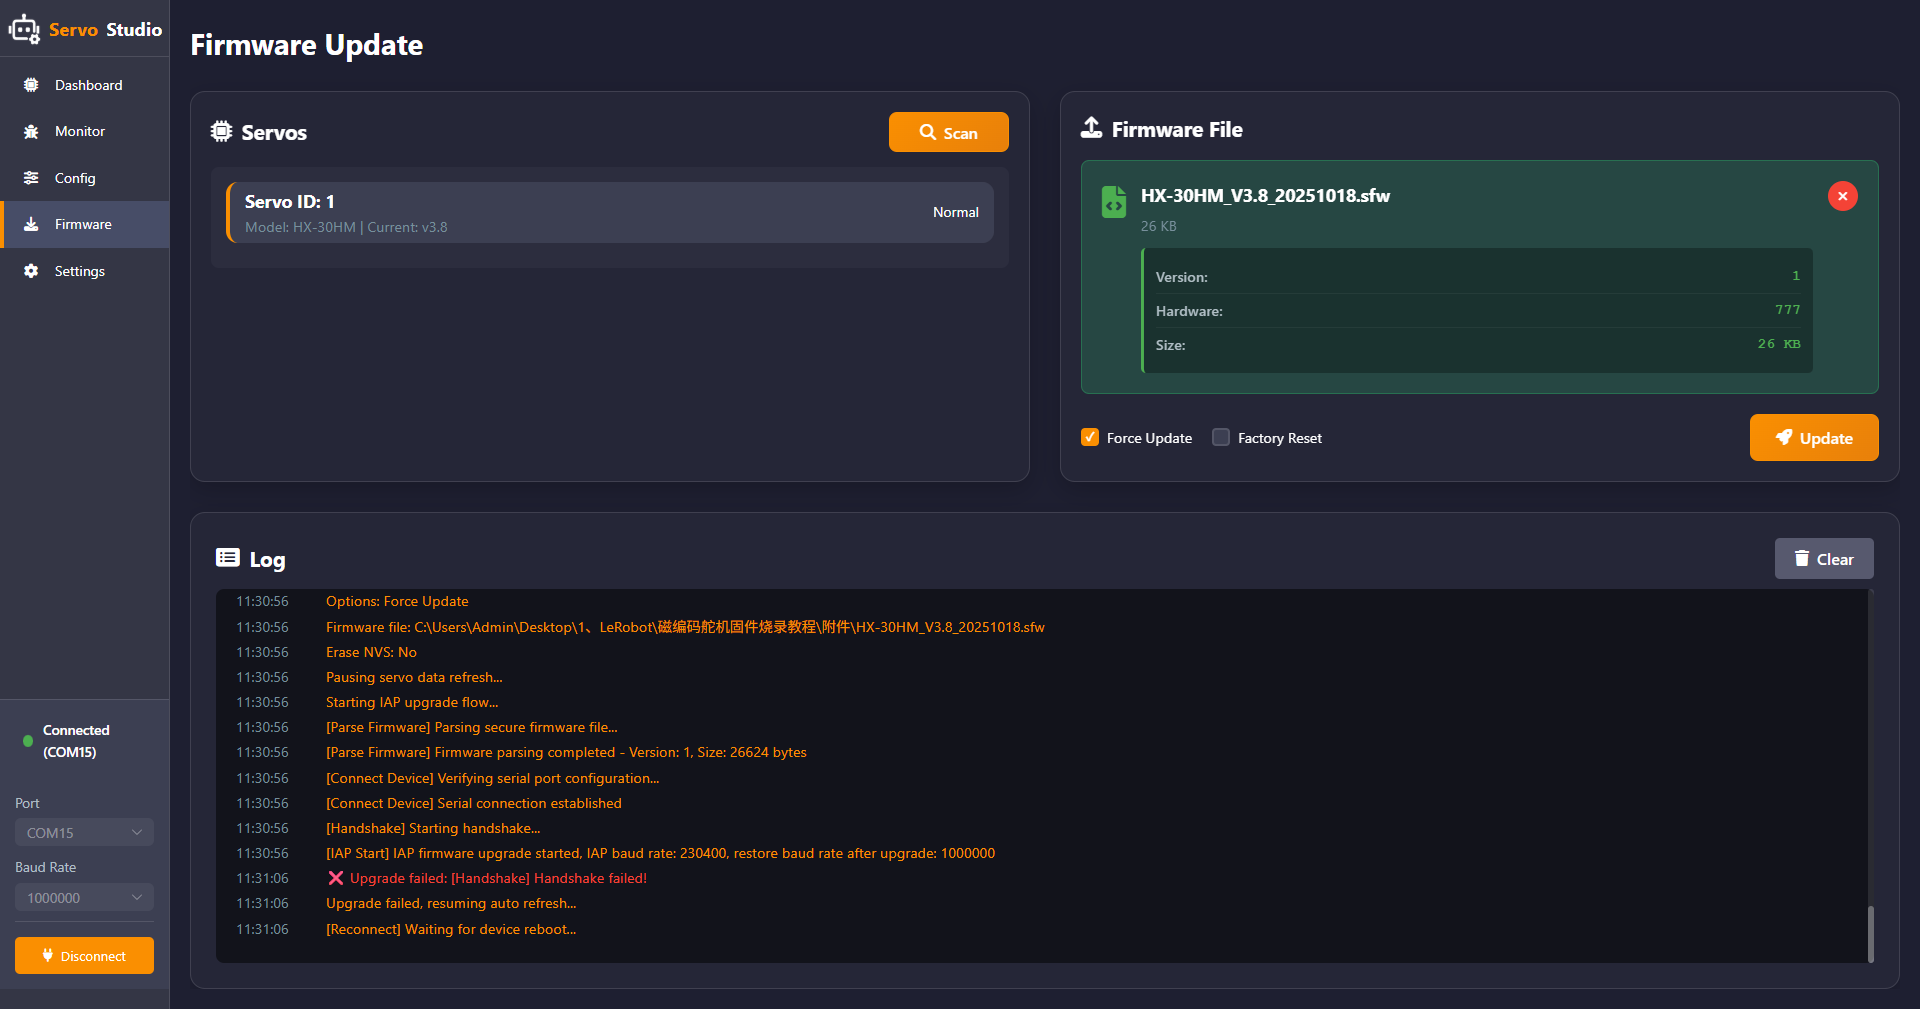
If a “Handshake Failed” message appears (as shown in the image below), follow the steps in the documentation to proceed again. Click “Upgrade” and retry the firmware flashing process.